
|
|

Page 3 of 3:
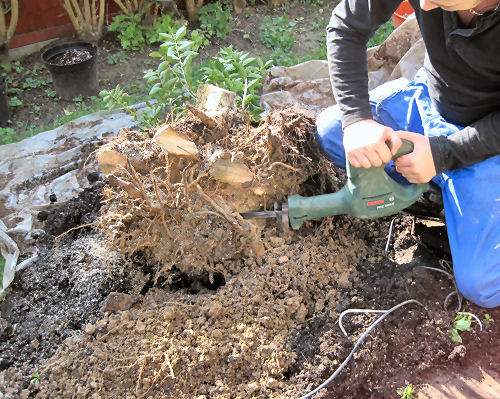
Using an electric reciprocating saw I began to shorten back the heavy roots as far as I could whilst trying to retain any existing feeder roots.
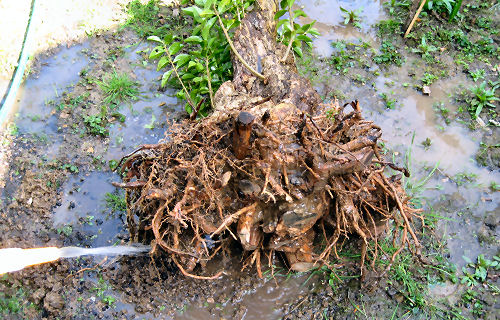
Periodically the rootball was washed with water to help remove more clay from around the rootball. Note that while it is possible to wash the roots of many deciduous/broadleaf plant species, it is not advisable with many coniferous species.
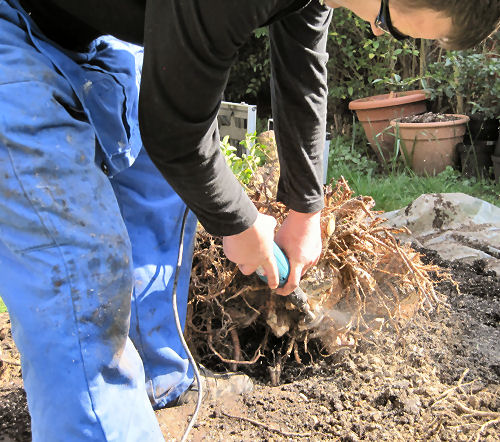
With much of the clay removed I then used a die-grinder to carve down any remaining stumps......
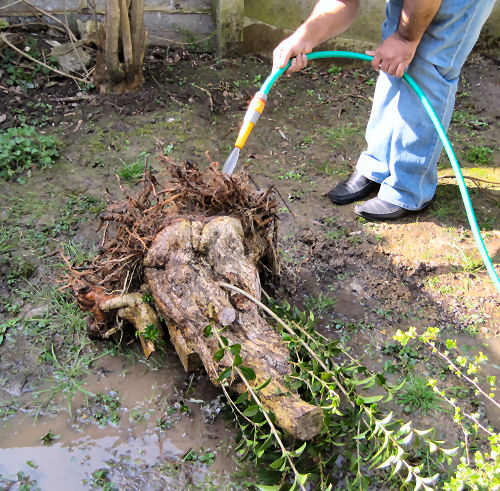
...........before the much shallower rootball was given a final rinse to ensure that all traces of the clay had been removed.
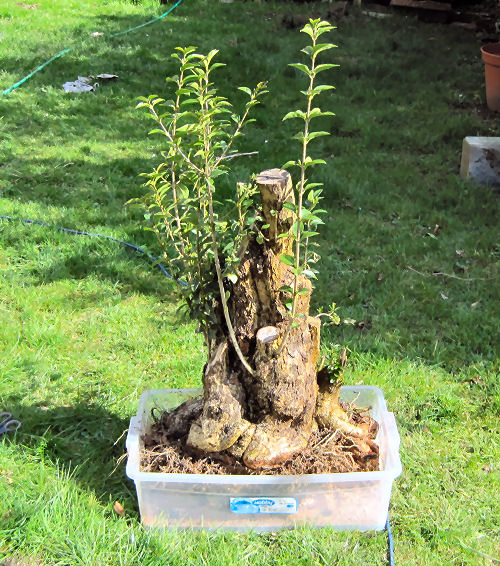
Finding a lightweight container large enough for the tree was problematic until a large plastic container of exactly the right size was found in a local hardware shop!
Finally, litres of bonsai soil were carefully fed into the container ensuring that no air pockets or cavities were left in or around the rootball and then the tree was heavily watered in.
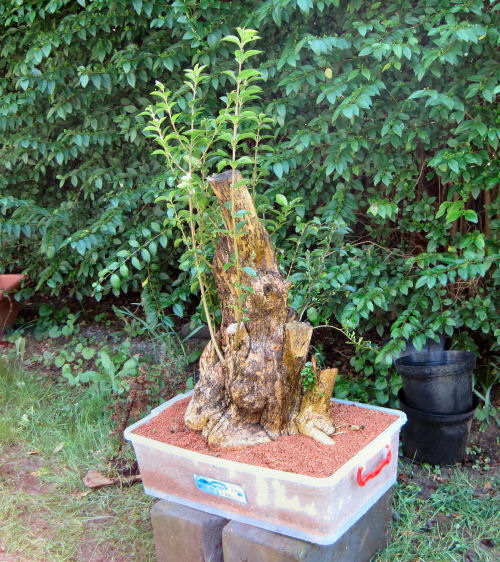
As can be seen, with a trunkbase of approx 60cm by 40cm (25"x16"), the tree was a snug fit in the new container, however it was now possible for two people to lift and carry the tree around. And with a good quality soil mix, the tree would be able to develop with added vigour.
Having heavily pruned back the thick roots, once the tree is ready for its first bonsai pot it will be possible to simply transfer it into its new home!